Want to make your own soap? It’s a super cool thing to do. You get to create unique, handmade soap with your favorite scents and colors. It’s a lot easier than you think, even if you’ve never tried it before. It’s honestly one of the best ways to learn a new craft, and it’s an amazing feeling to create something from scratch.
Let’s get started with some beginner soap making recipes so you can make your own beautiful, natural soaps at home. I’ll help you choose the right ingredients and guide you through those first crucial steps. You’ll be whipping up luscious, homemade lather in no time!
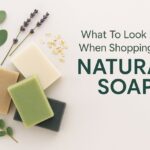
Choosing Your First Beginner Soap Making Recipes: A Starting Point for Your Sudsy Adventure
It’s easy to get overwhelmed with all the different types of soap recipes out there. Cold process, melt and pour, castile, glycerin – where do you even begin? The key here is to start with the basics: choose an easy beginner soap making recipes that uses common ingredients and gives you a solid foundation to build on.
- Cold Process Soap: This is the classic way to make soap, and it involves mixing oils and lye (sodium hydroxide) to create a chemical reaction that transforms them into soap.
- Melt & Pour Soap: This is a much simpler method that uses pre-made soap bases that you melt, add your desired ingredients, and then pour into molds. It’s perfect for beginners because it takes away the tricky part of handling lye.
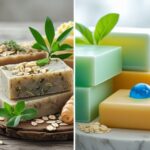
Essential Ingredients and Equipment for Your Beginner Soap Making Recipes
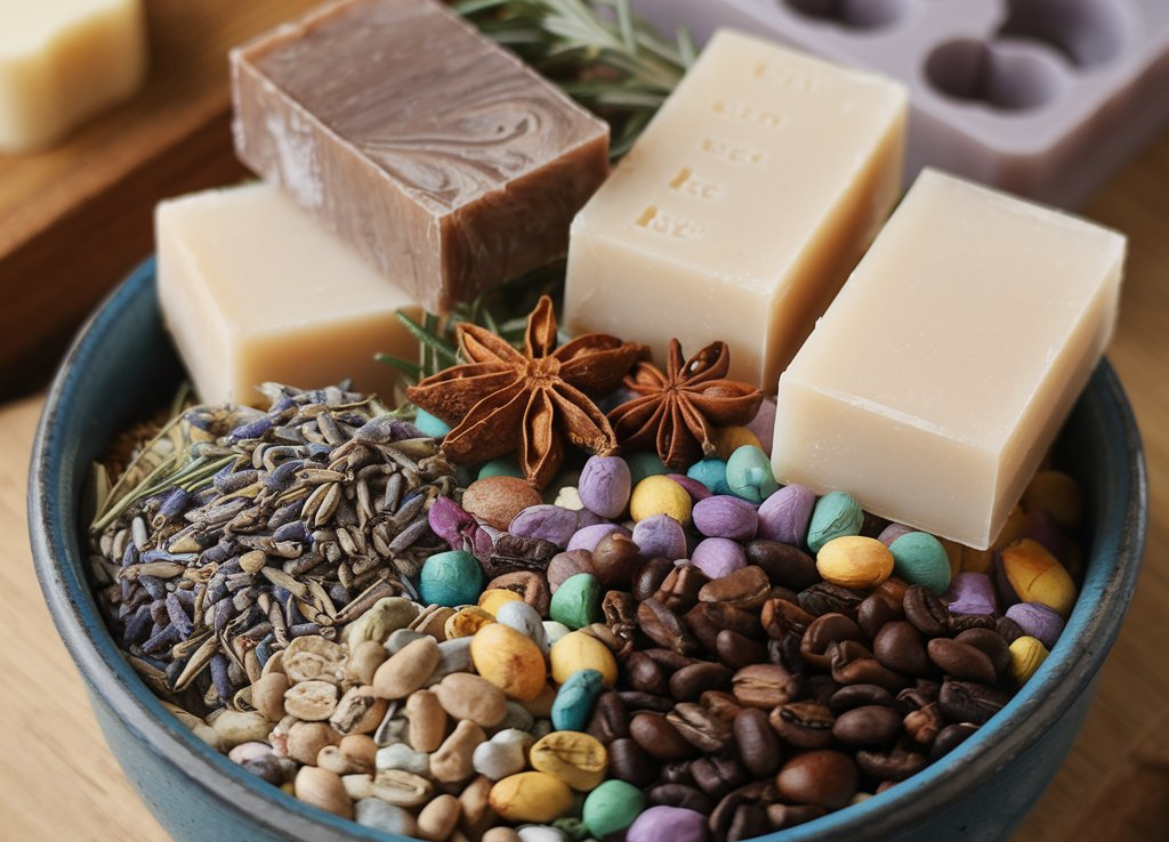
Let’s talk ingredients. You’ll want to pick up some basic stuff to get you going. You’ll need some oils, lye, and some essential oils and botanicals for scent and colour.
Oils:
- Olive Oil: A staple for its moisturizing properties and gentle cleansing action.
- Coconut Oil: Known for its lathering ability, it makes your soap nice and foamy.
- Castor Oil: This oil adds a creamy texture and helps your soap be extra smooth.
Lye: This is the key ingredient that turns oils into soap. It’s essential for the soap making process, but it also requires a lot of care.
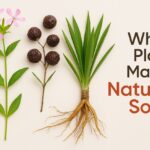
Essential Oils: These add scent and therapeutic properties to your soap. Choose scents that appeal to you, such as lavender, tea tree, or peppermint.
Botanicals: These are any natural ingredients you want to add to your soap, such as dried herbs, flowers, or spices. They create a beautiful, handmade look.
Essential Equipment:
- Scale: You’ll need a precise scale for measuring all your ingredients.
- Measuring Cups & Spoons: These are necessary for measuring your oils and essential oils.
- Rubber Gloves & Safety Glasses: These are essential for handling lye and protecting you from any potential spills.
- Thermometer: This is used to monitor the temperature of your lye solution and oils.
Step-by-Step Beginner Soap Making Recipes: Let’s Make Some Soap!
Now, let’s get our hands dirty and try a simple beginner soap making recipes for a cold process soap. It’s a super fun process. But safety first! Remember to always wear gloves and safety glasses when handling lye.
Here’s a simple beginner cold process soap recipe:
Ingredients:
- 20 oz Olive Oil
- 6 oz Coconut Oil
- 4 oz Castor Oil
- 4.5 oz Sodium Hydroxide (lye)
- 12 oz Distilled Water
- Essential oils of your choice (optional)
Instructions:
- Prepare your workspace: Make sure you’re in a well-ventilated area, and have all your ingredients and equipment ready.
- Measure your lye: Carefully measure out 4.5 oz of lye, and slowly add it to 12 oz of distilled water. Be careful, the solution will get very hot. Remember to always add lye to water, never the other way around.
- Measure your oils: Combine the oils in a heat-resistant container and heat them gently until they’re just warm.
- Mix the lye solution and oils: Once the lye solution has cooled down to 110 degrees F, and the oils are warm, carefully pour them into a large bowl.
- Blend the mixture: Using a stick blender, blend the mixture until it reaches a “trace” – a consistency like thick pudding.
- Add essential oils and botanicals: If you’re using them, add your essential oils and botanicals now, and mix gently.
- Pour into molds: Pour the soap batter into your molds and cover them with a towel.
- Cure: Let the soap cure for at least 4 weeks before using. The soap hardens and strengthens during this time.
Tips for Success and Resources for Your Beginner Soap Making Recipes Journey
Here are some extra tips for success as you get started:
- Start with a simple recipe: Don’t get overwhelmed with fancy recipes until you’ve mastered the basics.
- Use a digital scale: You need to be precise with your measurements.
- Always wear gloves and safety glasses: Lye is a strong chemical that can be dangerous if not handled properly.
- Work in a well-ventilated area: The chemical reaction with lye creates fumes that can be irritating.
- Be patient: Soap making takes time, so don’t expect to have perfectly cured soap overnight.
Additional Resources for Your Beginner Soap Making Recipes Adventure
- The Soap Queen: Check out Melody Hope’s website and blog for a wealth of soap making information and recipes.
- The Natural Soapmaker: Rosemary Gladstar is a renowned herbalist who has written a classic book on soap making with natural ingredients.
Beginner Soap Making Recipes – Your Journey to Sudsy Success
Soap making is a rewarding hobby that allows you to create beautiful and natural products for yourself and your family. It’s a great way to express your creativity, learn a new skill, and enjoy the satisfaction of making something from scratch. But remember: Start with beginner soap making recipes, master the basics, and you’ll be whipping up your own amazing soaps in no time.
Beginner Soap Making Recipes: Let’s Make Soap!
Ever wanted to create your own soap? It’s actually easier than you think, and it’s a super cool way to get creative. You can make your soap with your favorite scents and colors, and it feels amazing to create something from scratch. But where do you even start? That’s where beginner soap making recipes come in! These recipes are designed to be simple and easy to follow, so you can get started with soap making right away.
Beginner Soap Making Recipes – Let’s Get Started with Melt & Pour Soap
Melt and pour soap is the perfect place to start. It’s like a cheat code for soap making. You don’t have to figure out all the complicated chemistry stuff, because you’re using a pre-made soap base. You just melt it down, add your scents and colors, and pour it into molds. Easy peasy!
Beginner Soap Making Recipes: Melt & Pour Soap Recipe
This recipe is a classic. It’s super simple and gives you a great foundation for experimenting with different scents and colors.
Ingredients:
- 1 pound of clear melt and pour soap base
- Essential oils of your choice – maybe lavender for a relaxing scent, or peppermint for a refreshing vibe
- Mica powder for color – try a beautiful blue or a sunny yellow
Instructions:
- Melt the soap base: Chop up the soap base into small pieces and melt it in a double boiler, or in a microwave-safe bowl. Just make sure it doesn’t burn!
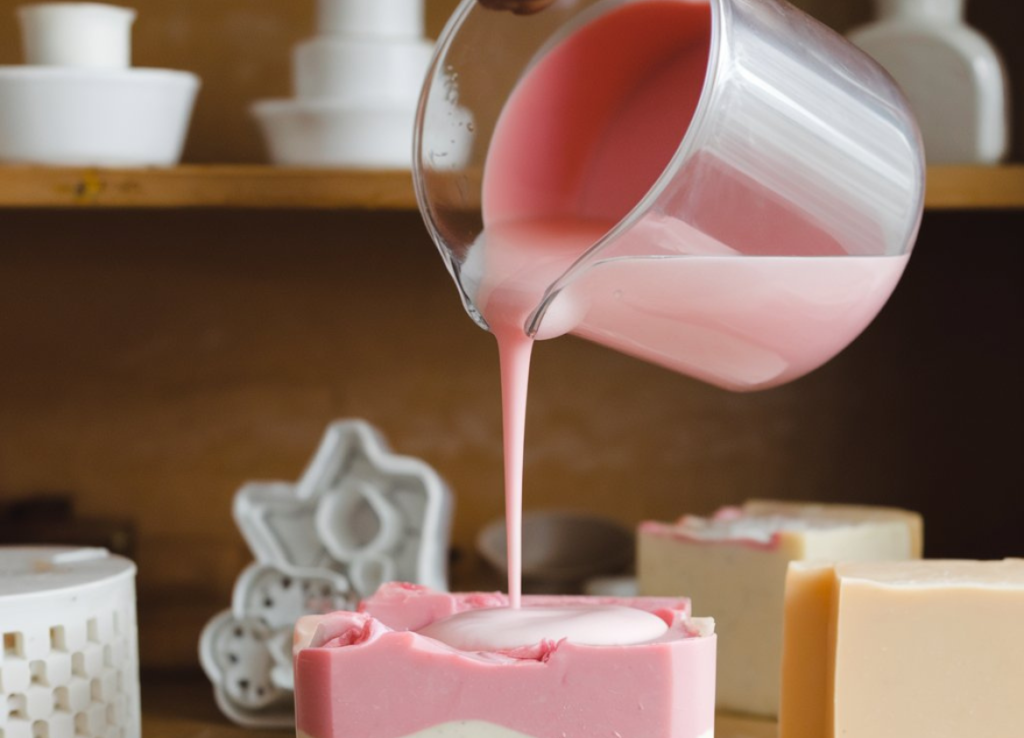
- Add your scent: Once the soap base is melted and smooth, stir in your essential oils. Don’t go overboard with the scent – a little goes a long way.
- Add your color: Mix in a tiny bit of mica powder until you get the shade you like. It’s easy to add a little more, but harder to take it out, so start with a small amount.
- Pour into molds: Carefully pour the soap mixture into your molds. Make sure you don’t get any air bubbles.
- Let it set: Leave the soap to cool and harden in the molds for a few hours or overnight.
Beginner Soap Making Recipes: What to Do After You’ve Made Your Soap
Once your soap is set, you’re ready to use it! But don’t rush it. The soap needs some time to cure and firm up. This usually takes a few weeks. After that, you’ve got yourself a beautiful, handmade soap!
Beginner Soap Making Recipes: Tips for Success
Here are a few more tips to make your first soap making adventure even easier:
- Keep it simple: Start with one ingredient at a time. Once you get the hang of things, you can start adding more to your soap.
- Use a digital scale: A digital scale is great for getting the measurements just right – it’s like a cheat code for perfect soap.
- Use quality ingredients: You’ll get better results with quality soap base, essential oils and mica powder. It’s like buying a good paintbrush if you want to paint a masterpiece.
- Go online: There are tons of resources online for beginner soap making recipes, tips, and tutorials. Google is your friend!
Beginner Soap Making Recipes: Common Questions
- I can’t find a soap base – where do I get it? ** You can get soap base online at places like Bramble Berry or Wholesale Supplies Plus. Or, you can try a local craft shop.
- Can I add anything else to my soap? Absolutely! You can experiment with adding different colors, scents, and even botanicals like dried herbs or flowers. Just make sure the ingredients are safe for soap making. A quick Google search can help.
- How long can I store my soap? Well, it’s not like your favorite sandwich – it’ll last a long time! Soap can last for months, or even years, if it’s stored properly. Just keep it in a cool, dry place away from direct sunlight.
Beginner Soap Making Recipes: Let’s Get Creative!
Now that you know the basics, it’s time to get creative. Try making different scents, colors, and add in some fun botanicals. You can even try making your own soap gifts for your friends and family! Beginner soap making recipes are a great way to get started with a fun and rewarding hobby. Just remember to have fun and experiment! You’ll be a soap making pro in no time!
FAQ
1. What is the easiest soap making method for beginners?
For beginners, the Melt & Pour method is the easiest way to start making soap. It involves using a pre-made soap base that you simply melt, add your desired ingredients like essential oils and colors, and then pour into molds. This method skips the need to handle lye, making it safer and more straightforward for first-time soap makers.
2. What ingredients do I need for my first soap making project?
For a basic soap making project, you’ll need the following ingredients:
- Soap Base: A clear melt and pour base is ideal for beginners.
- Essential Oils: These add fragrance and therapeutic properties to your soap.
- Mica Powder: This is used for coloring your soap.
- Botanicals (Optional): Dried herbs or flowers can add a natural, handcrafted look.
3. Why do I need to use lye in some soap recipes?
Lye (sodium hydroxide) is a crucial ingredient in traditional cold process soap making. It reacts with oils through a process called saponification, turning them into soap. While handling lye requires safety precautions, it’s necessary for making soap from scratch. However, if you’re not comfortable using lye, the melt and pour method is a good alternative.
4. Can I substitute the oils in a soap recipe?
Yes, oils can often be substituted, but be aware that different oils contribute different properties to the soap. For example, olive oil is moisturizing, coconut oil creates a good lather, and castor oil adds creaminess. It’s important to use a soap calculator to ensure the correct lye-to-oil ratio if you modify a recipe.
5. How long does homemade soap need to cure?
For cold process soap, curing typically takes about 4 weeks. This allows the soap to harden and any remaining lye to neutralize, resulting in a milder bar of soap. Melt and pour soaps don’t require a curing period—once they’ve set in the mold, they’re ready to use.
6. Where can I buy soap making supplies?
Soap making supplies like soap bases, essential oils, and molds can be purchased online from retailers such as Bramble Berry or Wholesale Supplies Plus. Local craft stores may also carry basic supplies.
7. Is soap made with lye safe to use?
Yes, soap made with lye is safe to use once it has fully cured. During the curing process, the lye completely reacts with the oils, leaving no lye in the final product.
8. Can I add other ingredients to my soap, like oatmeal or dried flowers?
Certainly! Adding ingredients like oatmeal, dried flowers, or herbs can enhance the texture, appearance, and properties of your soap. Just ensure that any additional ingredients are safe and appropriate for soap making.
9. How long does homemade soap last?
Homemade soap can last for several months to years, depending on how it’s stored. To maximize its shelf life, store your soap in a cool, dry place away from direct sunlight.
10. What should I do if my soap doesn’t turn out as expected?
Don’t be discouraged! Soap making is a learning process. If your soap doesn’t turn out as expected, try to identify what went wrong. Common issues can include incorrect measurements, not reaching trace, or using too much fragrance or color. There are plenty of online resources and communities where you can seek advice and improve your technique.
This FAQ section should help clarify common questions for beginners embarking on their soap making journey.